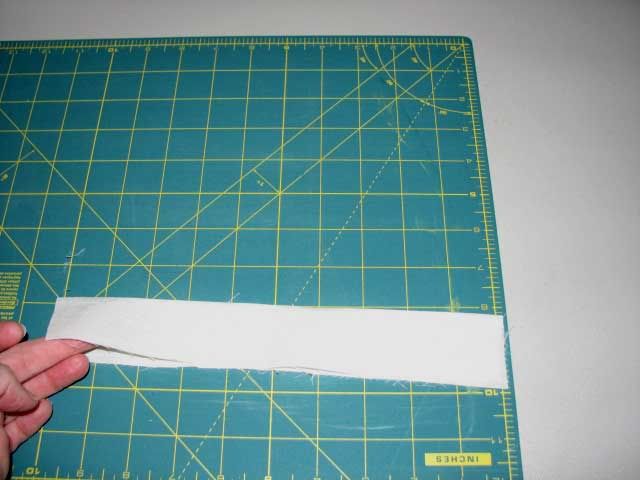
Once all of your pattern pieces are cut out, cut a piece of fabric approximately 3 x 10 inches.

Fold this piece in half lengthwise and press.
Fold the skirt piece in half matching the armholes.
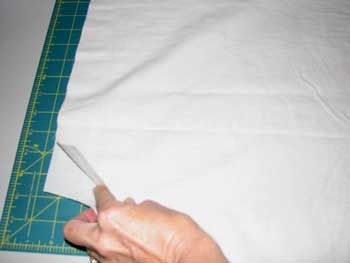
Fold the lap piece in half and lay it on top of the skirt on the fold.

Draw a line along the fold from the top to your previous marking.


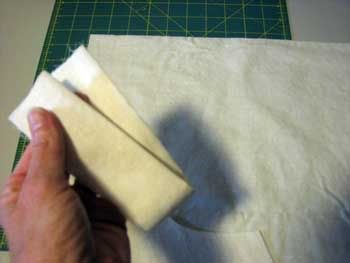
This is what your skirt will look like

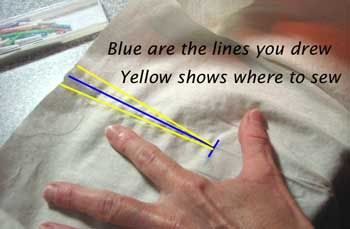
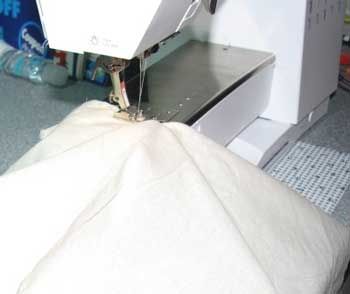
Match the raw edges of the lap piece to the raw edges of the 'V' you just made (right sides together). This is easier to do if you put the lap piece on the bottom and the skirt on the top. Stitch just outside your previous stitching.

Be careful as you get to the point of the 'V' not to catch any additional fabric in your stitches.

Press the continuous lap open.
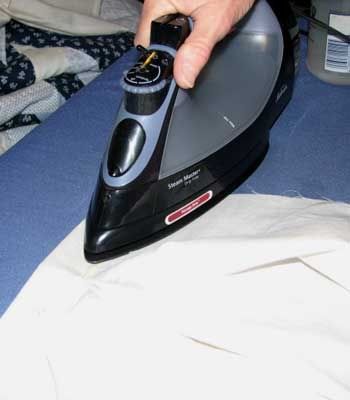
Then pull the folded edge to the wrong side, over the seam, and press again.
Stitch the folded edge to cover the stitching.
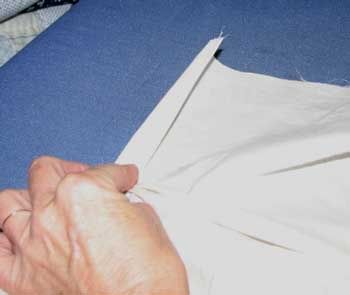
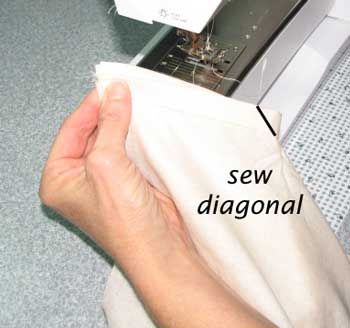
Fold the lap in half and sew a diagonal line across the bottom. This is for reinforcing.
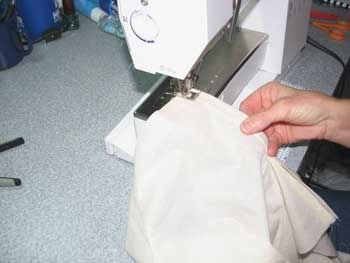
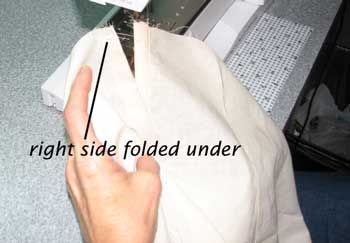
That is it, your continuous lap is finished. Fold under the right side and baste across the top.
I have found this process to be a much easier way of creating a continuous lap and, because it is machine stitched, it will stay together better and last longer. Hope this helps you.
It might have been better in a different color or with colored thread because no details can be seen. its just a piece of white fabric. cant see stitches. But thanks anyway.
ReplyDeleteSorry if you had trouble with this. The photo above with yellow and blue lines show where to sew.
Delete